Perform e-mail template customization
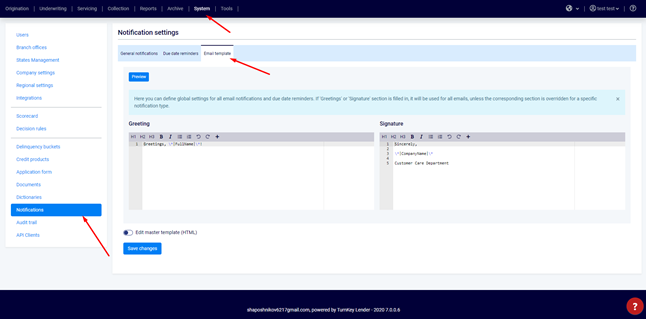
- To customize the Email Template that is used for all the emails the system sends out, navigate to System→ Notifications→ Email Template.
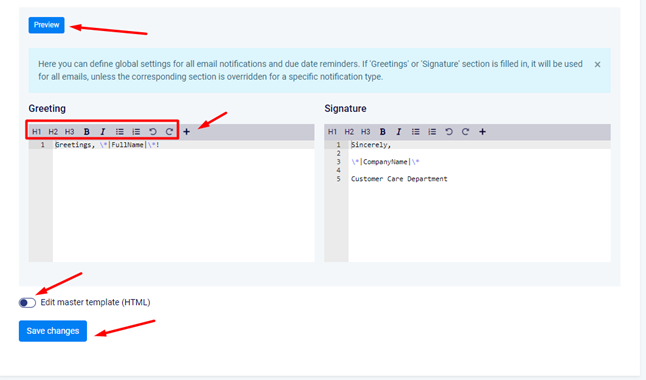
2. Change the default Greeting and Signature which will be sent to the customers with each notification by editing the text in the simple text editor, using basic styling options or by editing the Master Template in HTML. But even without advanced HTML or CSS skills, you can fully customize the template since the editor has a number of standard styling options and allows to add the system's Merge Fields into the content.
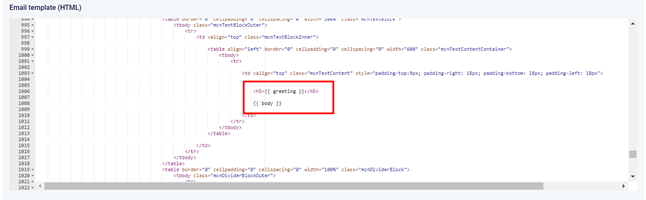
3. Within the HTML editor, use the following keywords in double curly braces in order for some of the basic email sections to show up:
- {{ subject }} - renders the content of Email Subject defined for the notification;
- {{ greeting }} - renders the text from the Greeting section;
- {{ body }} - renders the main text of the message;
- {{ signature }} - renders the Signature section.
Please, note that it's important to keep the original spelling of these keywords in order for them to work correctly.
Important!
If you don't have sufficient HTML and CSS knowledge, do not customize the code in the HTML editor yourself.
4. You can also use Merge Fields while working on the Email Template in HTML. You can read about using Merge Fields in more detail here.
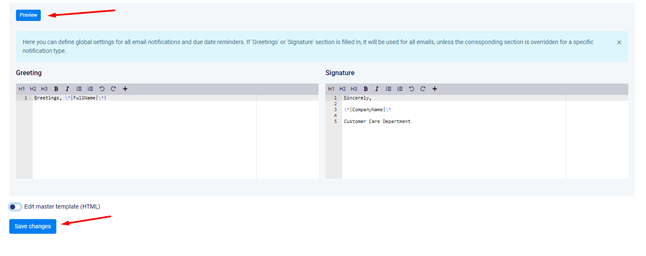
5. Once you're done editing the Email Template, Preview the changes. If you're happy with the outcome, click Save Changes.
Related articles