Email templates editor
At TurnKey Lender the User can fully customize the email template used by the platform from the back office without editing the source code on the backend of the system or getting in touch with tech support. The template can be edited within an intuitive interface and most customization needs can be addressed even without HTML knowledge. If, on the other hand, the user needs to add some advanced styling and/or content to the template, it can be done through the built-in HTML editor.
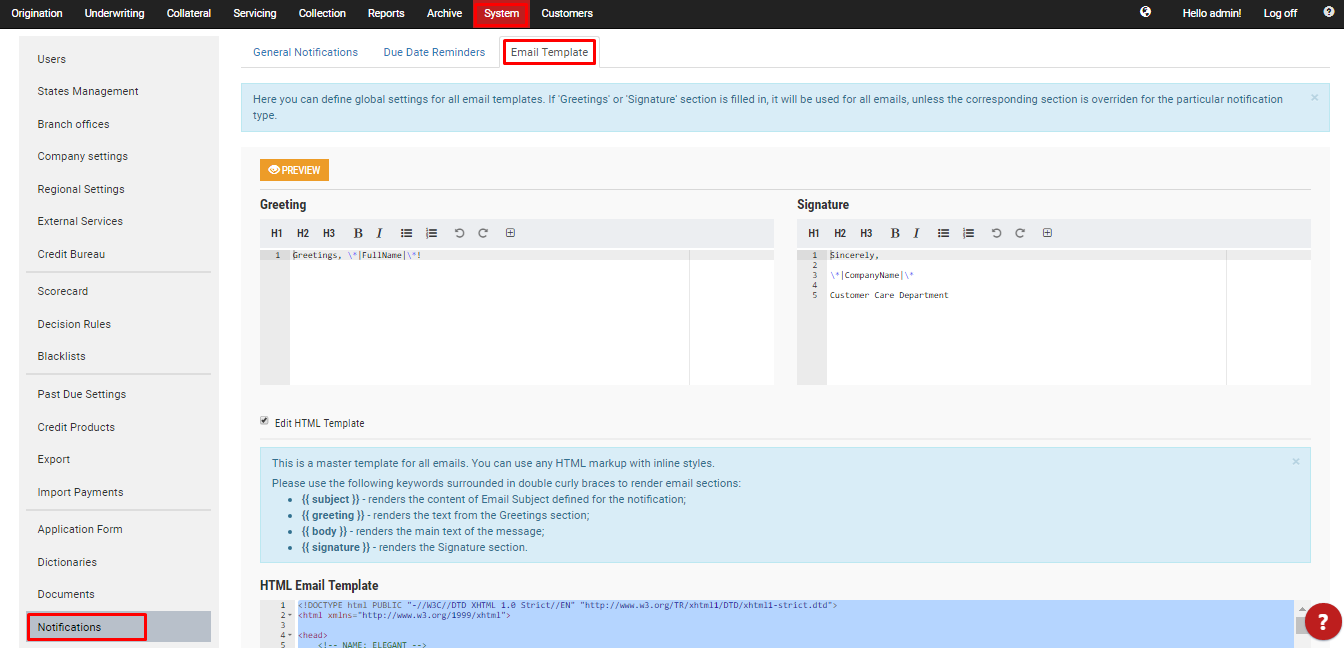
To work with the template editor the user needs to navigate to System → Notifications and switch to Email Template tab at the top of the screen.
Let's go over the customization options available in the Email Template editor.
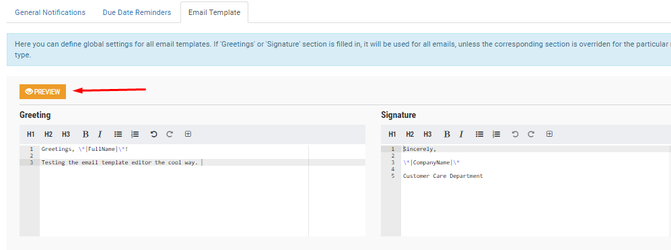
Greeting and Signature
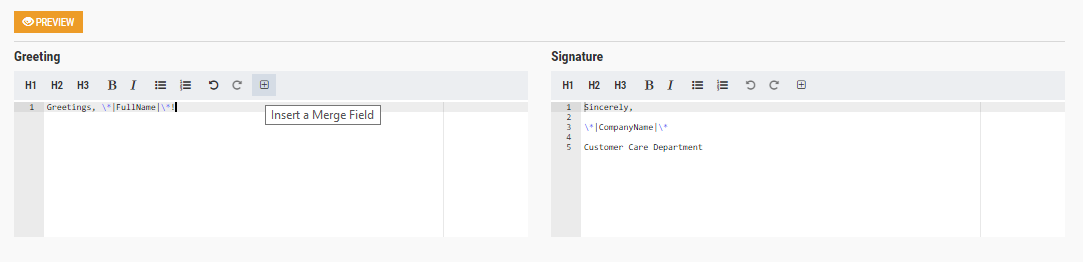
The User can change the default Greeting and Signature which will be sent to their customers with each notification. The editor has a number of standard styling options and allows to add the system's Merge Fields into the content.
Merge Fields
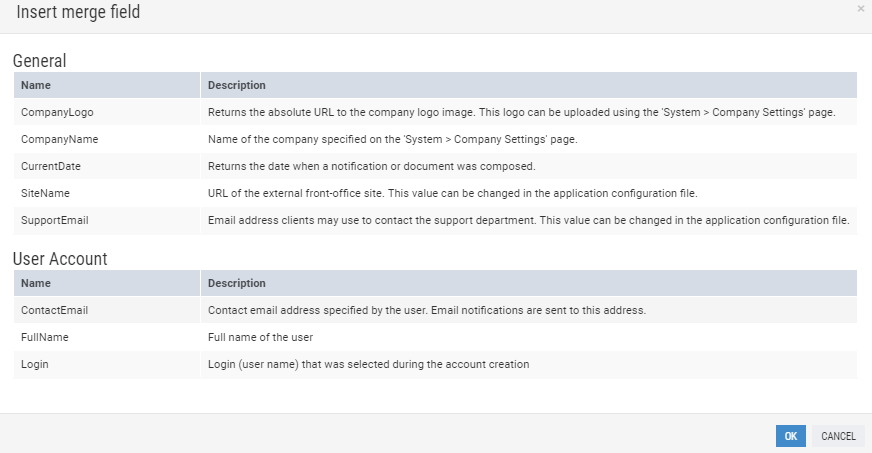
Merge Fields will pull the data about the customer or the User's company into the notifications automatically to add a new level of personalization to the email exchanges. There's no need to learn the correct syntax of adding the fields to the template since one can simply select the required field from the table, click on it and then press "OK". This way the Merge Field with the correct spelling will be added into the section of the email template you were editing. In order for the automatically generated Merge Field to display correctly in the emails, it's important that the User doesn't edit it.
HTML template settings
To customize the HTML content and inline styles of the template, the user needs to check the Edit HTML Template box.
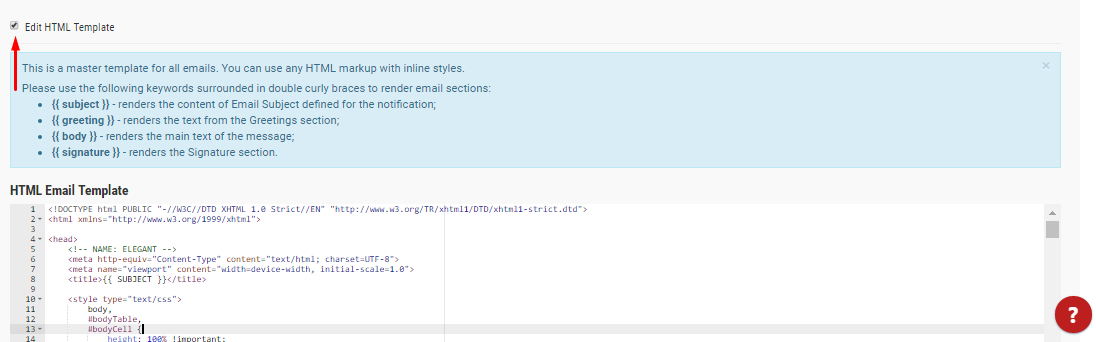
What the User then sees is the built-in editor in which one can create and style content with regular HTML and inline CSS.
The user can also use the following keywords in double curly braces in order for some of the basic email sections to show up:
- {{ subject }} - renders the content of Email Subject defined for the notification;
- {{ greeting }} - renders the text from the Greeting section;
- {{ body }} - renders the main text of the message;
- {{ signature }} - renders the Signature section.
Please, note that it's important to keep the original spelling of these keywords in order for them to work correctly.
One can also use Merge Fields while creating a custom HTML template. For example, in order to insert the 'Company Logo' Merge Field, the User would need to use the following command:
<img src="*|CompanyLogo|*"> which would look like this: 
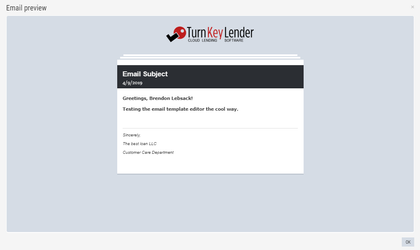
Preview changes
Once the User is done customizing their email template or just wants to check if they have made any syntax/spelling mistakes, they can use the Preview changes button at the top of the screen.
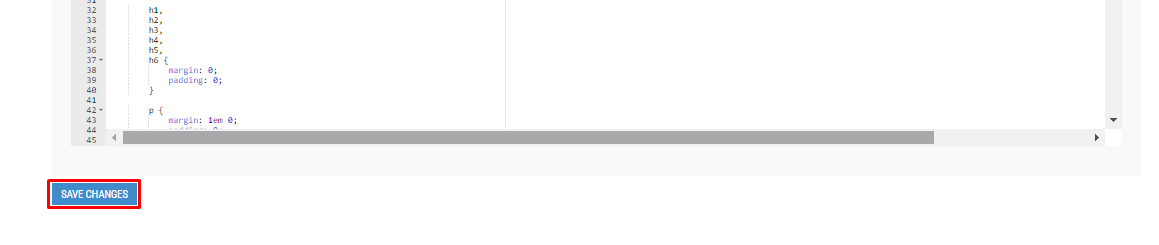
Save changes
Once the User is happy with the template they've created, they should scroll to the bottom of the page and save the changes so that their template could be applied to the notifications the system sends out.