This subsection provides instructions on how to add a new collateralized property to a secured loan.
To add the collateral:
1) Above the table displaying the list of loan applications, click the All split button and select a required option to filter the loan applications.
2) In the table, click a corresponding loan application.
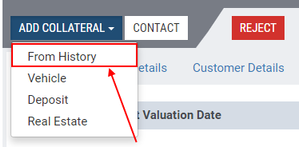
3) Click the Add Collateral button above the table and select a required type of collateral from the drop-down list.
Note: |
If the borrower has already applied for a collateral loan, the user can select the required type of collateral from the history by clicking From History in the open drop-down list. |
|
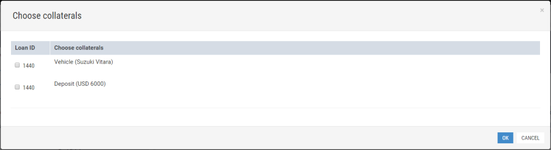
In this case, in the open Choose collaterals window, the user can add the check mark opposite a corresponding collateralized property to be added. |
The window for specifying details of the selected collateralized property opens:
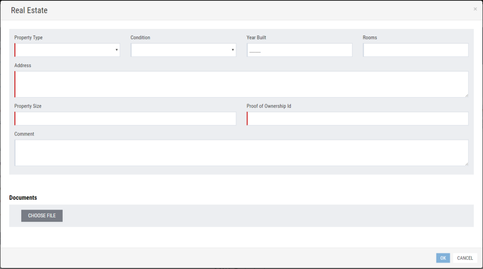
4) Specify collateral details.
5) Click OK to save changes.
A new type of collateral has been added:

Having added a new collateralized property, the user can value it according to the procedure described in the Valuing Collaterals subsection above.